Hello dear reader,
One of my favourite things about food blogging is challenging myself to make food I’ve never made before, especially the food I’ve never even thought of making before. If you’d told me a year ago I’d be home-curing bacon and making my own pancetta, I would not have believed you!
The start of my home-curing story started a few months ago when I was invited by my local farm shop to a masterclass in cooking game by Edinburgh chef Neil Forbes. The first dish Neil cooked was Pheasant with Chestnuts, Button Onions, Fennel and Bacon.
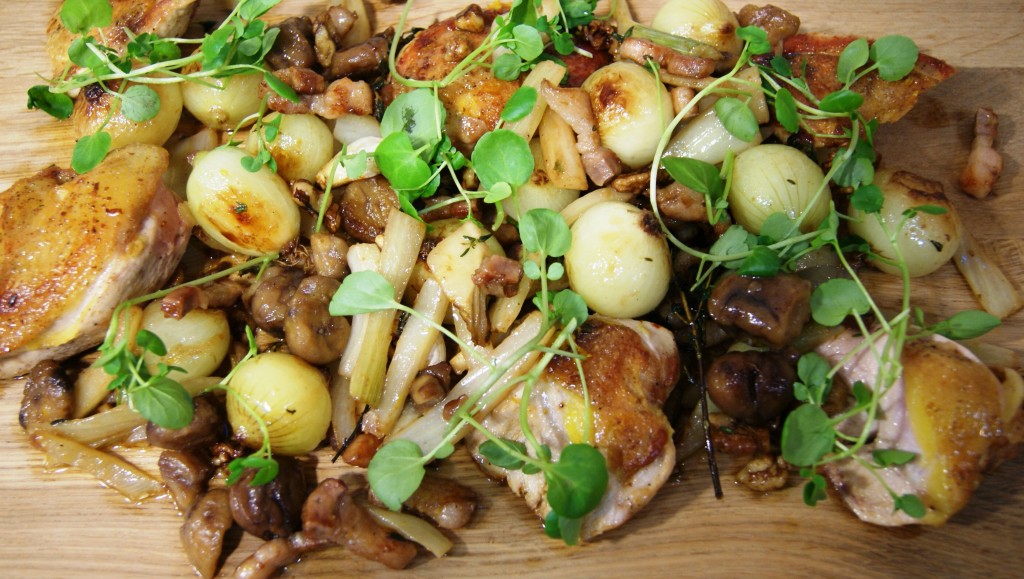
Doesn’t it look pretty? “Autumn in a pan” was how poetically Neil described it. The dish was beautiful but the star for me was the bacon, which Neil had cured himself.
A few weeks later and I was still dreaming about the taste of that bacon, so I contacted Neil to see if he would be willing to give me the recipe. He very kindly obliged and this is what he told me…
“2-3kg pork belly, skin on bone on, rubbed and left in 1.5kg coarse sea salt, 750g dark br sugar, a few star anise and fennel seeds. Keep in fridge and rub and turn every day for 6-7 days then rinse under tap and dry, rub with whiskey and dust with white pepper. Hang for up to 4 days somewhere cool. Then cut off skin and bone and cut into big chunks and fry and put in stews etc.. Have fun with it.”
So, off I went one Saturday morning to my fantastic local craft butcher Neil Hoey to buy pork belly. There was none to be had!

It turns out my butcher only gets in one pig a week on a Thursday. Was I disappointed?
NO – this sings to me of responsible, sustainable, local food sourcing! This is why you should get to know your butcher and talk about different cuts and ideas – you’ll get to know when is the best time to source particular items. So I placed my order and went to pick it up the following Thursday. His first question when I arrived was did I want it boned? NO IDEA! I’d not brought my notes. A quick discussion on what I was doing with it and he advised skin on, bone out. When I got home later I realised Neil’s recipe said bone on, so wasn’t sure if this would work out (more on that later).
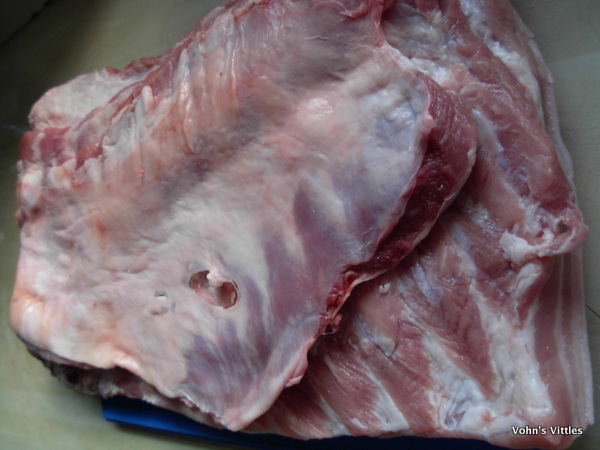
Here’s my huge 2kg slab of pork belly…
One of the things Neil had advised was to experiment. I didn’t have the fennel seeds he’d mentioned, so I swapped them for cumin. I also thought some mustard seed might be nice in there too. Neil also said to have fun – so here is the run-down on the fun I had…
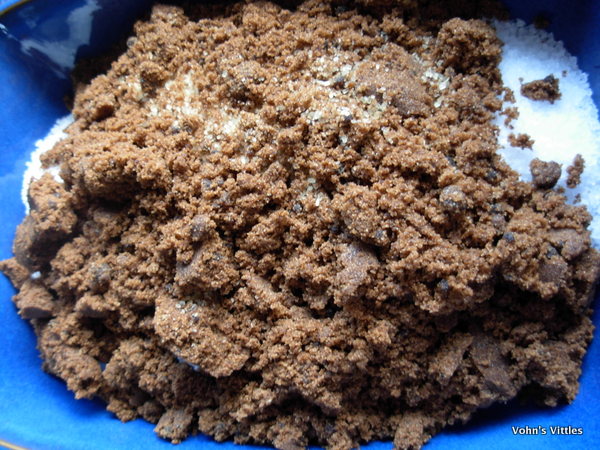
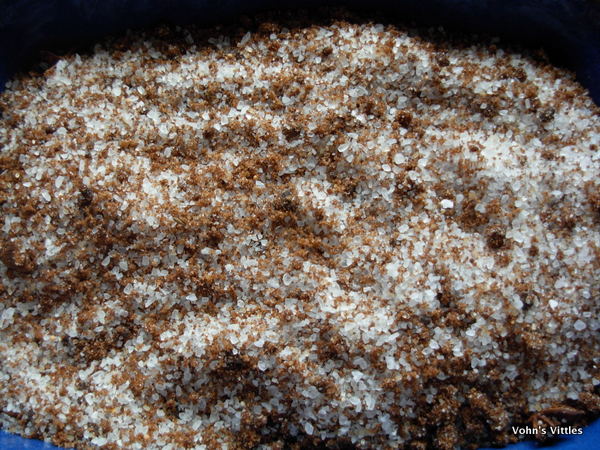
1) A kilogram of coarse sea-salt and ½ kg dark brown sugar in a rectangular big casserole dish
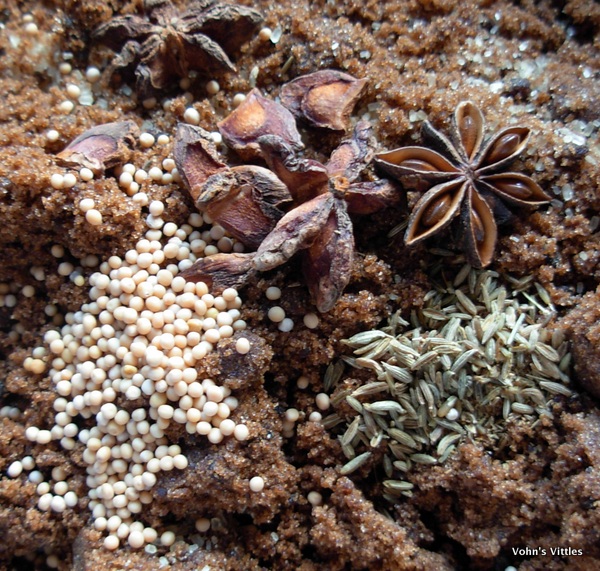
2) Add the spices – I used 1 tsp cumin seeds, 1 tsp mustard seeds and a few star anise
3) Mix it all about, then remove half to a separate bowl
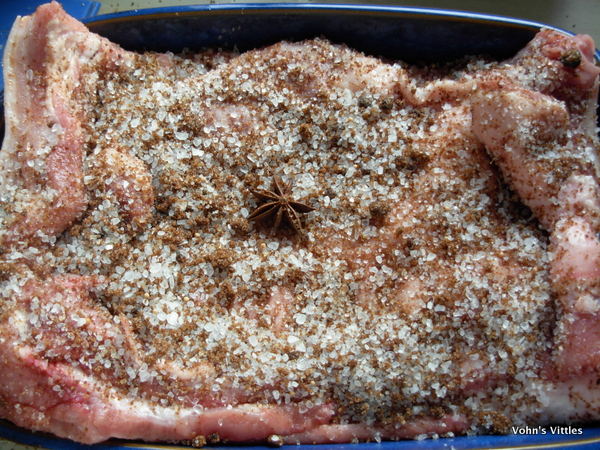
4) Place the pork belly in the dish and start adding the reserved spiced sugar-salt mix, rubbing it into the meat.
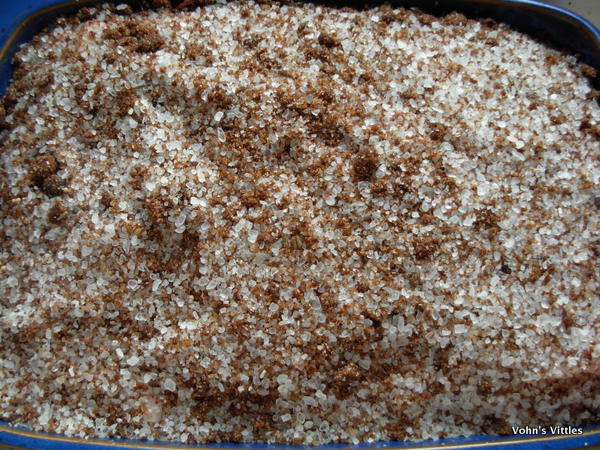
5) Add the remaining spiced sugar-salt mix on top.
6) Pop it in the fridge.
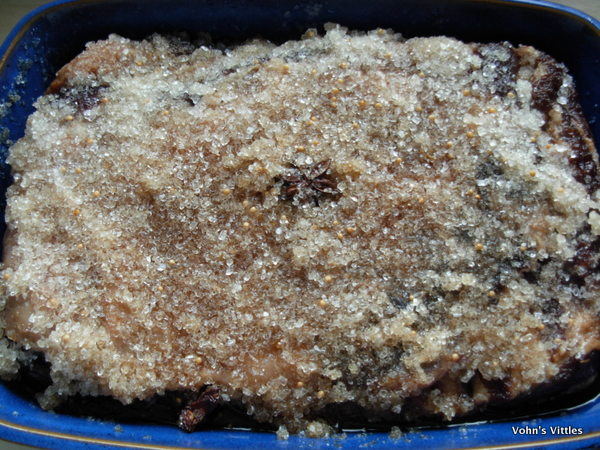
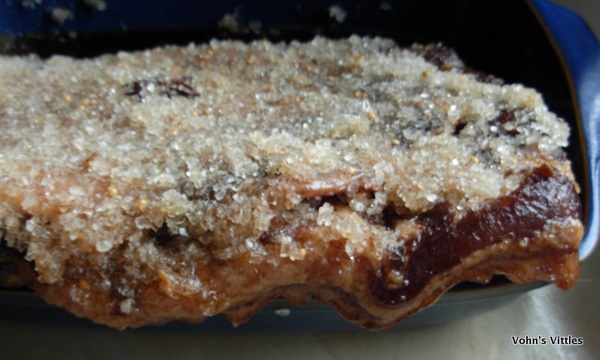
Turn the meat over every day, rubbing in the salt mix. The curing process is drawing out the moisture in the pork, so you may need to drain off the excess liquid so it doesn’t overflow the dish. You wouldn’t believe how much liquid comes out – I reckon there must have been a few pints over the course of the week! Don’t drain off all the liquid though, as this aids the curing process. This is what it will look like drained after a week…
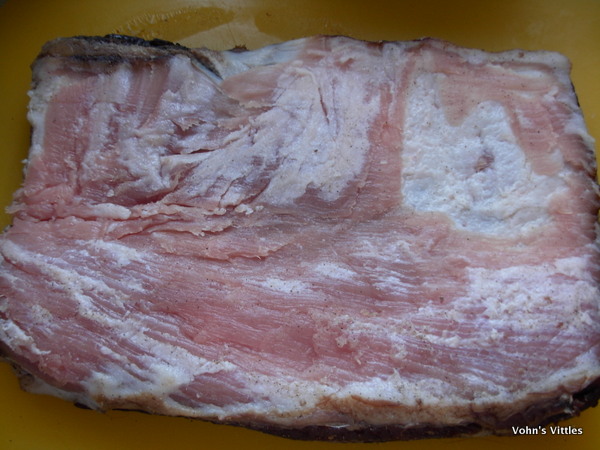
Side-on, you can really see how much the pork has cured and has turned a rich dark colour!
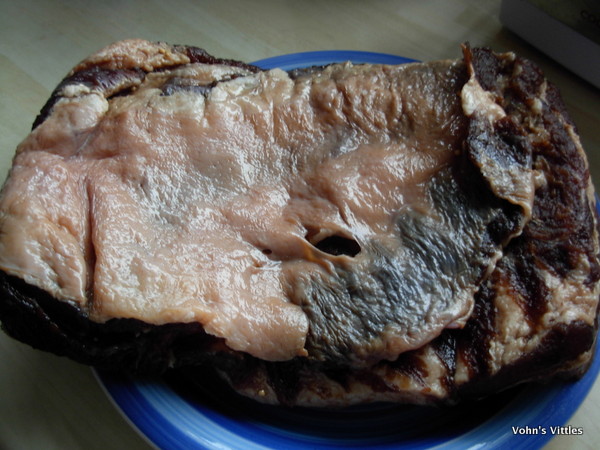
7) Rinse off all the spiced sugar-salt mix
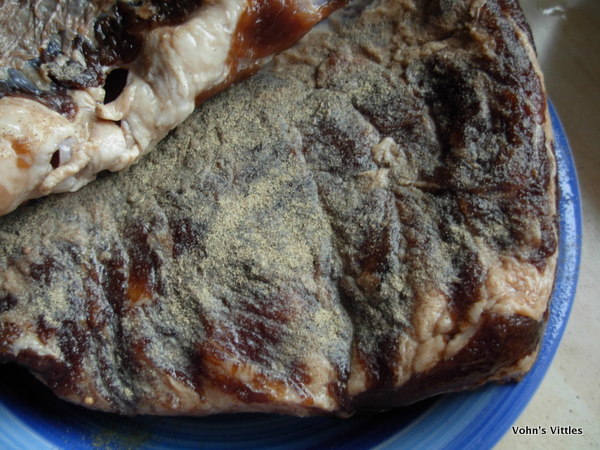
8) Rub all over with whisky and then sprinkle over white pepper. I think I was maybe a touch too generous with the pepper – the outside ended up very peppery! Neil did say dust with pepper – oops!
Now it needs to hang for a few days and I’m stumped as to how to do that & where to do it.
I suppose Neil just chucks in a big meat hook and hangs it in the chiller*. Much as I would love a walk-in, it is many years down the line, or possibly complete fantasy! Mr Vohn suggests hanging it in the shed but I can’t stand the thought of all the spiders that might crawl all over it!
In the end, I cobbled up a “hanging station” by pushing two long metal skewers through the pork belly and suspending it inside an old cardboard box! I thought my DIY assembly might all fall to bits but it held up fine for the four days required for the meat to dry out! I found out later that it would have been fine drying out on a plate in the fridge but I’m rather pleased I didn’t know that, or I would have missed out on the fun of making my own “hanging station”!
Next came the removing of the skin, which proved much more difficult than it sounds. I do sharpen my knives every time I use them but, even so, it was a real struggle to do. It also saddened me that some of that delicious flavouring was just going to be chucked away. Next time I cure a pork belly, I will get my butcher to remove the skin first.
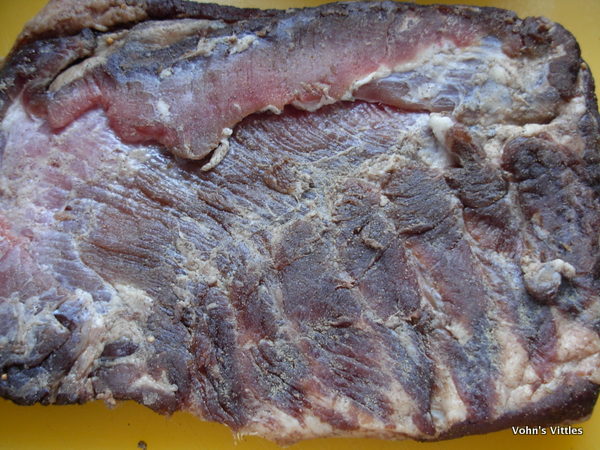
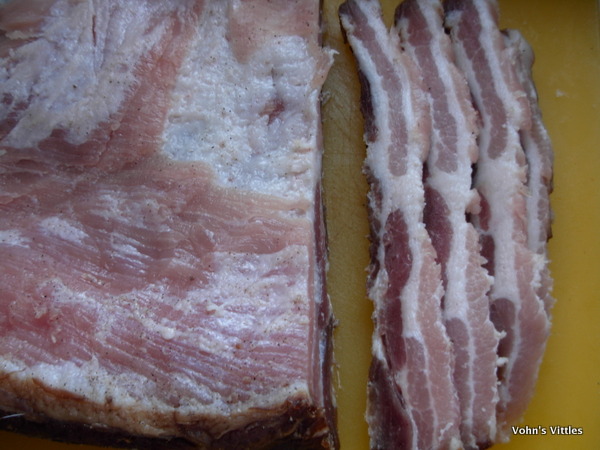
Now slice your cured pork belly. After the struggle with the skin I am now glad my butcher advised me bone-out, as I would have found it very difficult to cut out bones too.
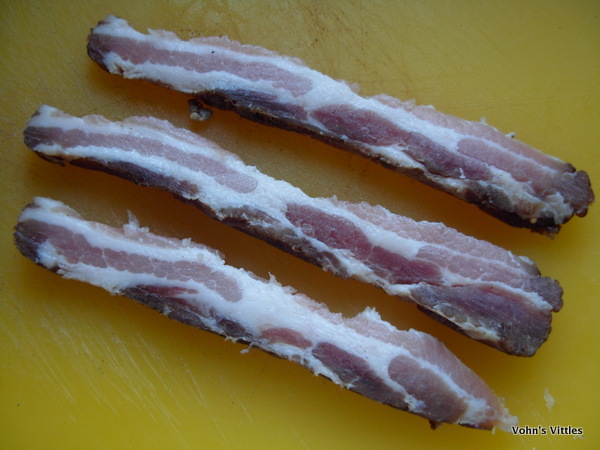
Use the slices as you would thick-cut streaky bacon. We had a couple of slices fried and served with pancakes and they were unbelievably tasty.
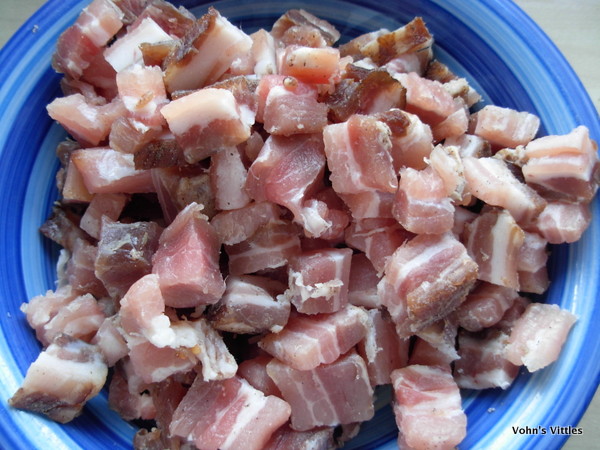
Or chop up into cubes to use as pancetta. I’ve used these in slow-cooked stews, carbonara, soups, a meatloaf and speedy omelettes. They do take a little longer than store-bought pancetta to release their fat into the frying pan but the extra taste is well worth those extra few minutes! If you are having onions in your dish, fry them off in the pancetta fat – oh my – delicious!
If you prefer your pancetta a little leaner, then just cut off the fat and save that for use as lardons. I open-froze (i.e. spread out on a baking tray) the pancetta we didn’t use immediately and then bagged it up, so I can take out a handful at a time to defrost.
If you love bacon or pancetta, I certainly recommend giving home-curing a try. Also, if you buy your bacon and pancetta in the supermarket, check out the ingredients – most have nitrites or sulphites added as preservative! Make your own and give these nasties a miss!
The only thing I would change about Neil’s recipe is that, for the home cook, it is easier to get your butcher to bone and skin the pork belly for you.
Thanks so much to Neil for the inspiration and the recipe! If you want to taste his gorgeous home-cured bacon without making it yourself, visit his restaurant Café St Honoré in Edinburgh, where it is often included in some form on the menu.
Vohn
x
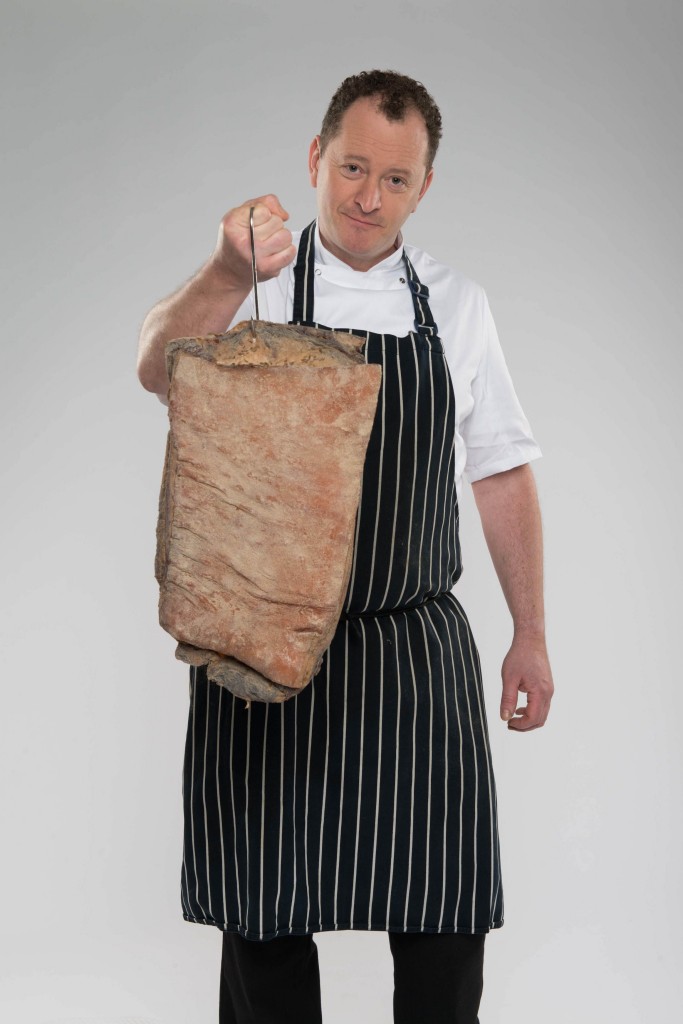
*By the way – I was right about how Neil hangs the bacon – here’s a photo his PR company kindly sent to me later!
P.S. If you liked this recipe, please press the “follow via email” button below and you will get all my new recipes straight to your inbox. Easy!
P.P.S I am entering my home-cured bacon and pancetta into a couple of blogger challenges…
Credit Crunch Munch run by Camilla at Fab Food 4 All and Helen at Fuss Free Flavours, but this month hosted by My Golden Pear. My home-cured bacon and pancetta are made using a cheap cut of meat – pork belly – and I made so much that it has been split up in the freezer and used in many different meals.
Shop Local run by the extremely talented Elizabeth at Elizabeth’s Kitchen Diary. My belly pork was from my local butcher, who sources his pigs from local farmers.


Have fancied trying to do this for a very long time, but always put off by complete lack of knowledge!! Your instructions/pictures are SOooo clear and informative. Thankyou thank you… will be giving it a go 🙂
My pleasure Elaine! So glad to be of help to you and I know you will definitely give it a go. Do pop back and let us all know how you get on! 🙂
Still impressed by this & would still love to try it out one day! Fab!
Thanks Anyonita. Go for it! It is so very easy and a taste sensation! 🙂
This is an AWESOME blog post!
Aw, thanks Brandi! I was so pleased with the results and very pleasantly surprised to find it was so easy to do! x
Big respect! Wowee, you make this look so easy! Good on you for giving it a go and you’ve inspired me to do the same! Thanks for linking up with Shop Local!
Ooh – thanks very much Elizabeth! It is so easy, I reckon I’ll stick to making my own! Do let me know how you get on. Vohn x
I love bacon but am always aware of all the ‘nasties’ that get added. I love this idea of making your own. Very inspired to try it out. Thanks for taking part in Credit Crunch Munch.
Thanks Angela. The credit crunch and lack of “nasties” are two of the main aspects that appeal to me in making my own. Vohn x
[…] PANCETTA AND LARDONS And finally we have a very informative post on how to cure a pork belly from Vohn’s Vittles. It may at first seem a bit daunting but with Vohn’s beautiful photographs and step by […]
Oh this is brilliant, I never knew one could cure one’s own bacon and I bet it tastes out of this world – well done:-) Thank you for entering Credit Crunch Munch with such an original entry:-)
Thanks so much Camilla! It is amazing the things we never think of doing ourselves until someone gives us that lightbulb moment! I’m so grateful to chef Neil Forbes for making me think about things like this! Vohn x
Great to see your home curing going great guns. I was planning on salt beef to follow on from my salt cod, but maybe I could make pancetta, too!
Thanks Chris! Mmm – salt beef sounds very good – looking forward to your recipe! Vohn x
Ahhhh this is amazing, Vohn! 🙂 Makes me want to flock to my butcher’s right now! I HAVE to try this; not sure what I’ll do for the hanging bit, either, but I love your ingenuity in using the cardboard box!
Thank you so much Anyonita! Go for it. I put my two skewers in at 90 degrees to each other and rested them on the top of an open box. Good luck! Vohn x
Wow that’s impressive! You have inspired me, I adore bacon so need to try this!!
Yay Jacqui – give it a go – it is so easy but so delicious! Do let me know how you get on. Vohn x
Gorgeous <3
Thank you Sophie!
This looks amazing!
Thanks Ronit!